
Homemade Baking Soda Ornaments are easy to make, and help you create fun holiday memories!
This post was first published on November 25, 2013. It has been updated and republished on December 6, 2020, with more helpful baking tips, new photos, and FAQs to help you troubleshoot. This post also contains affiliate links. Read my policy page to learn more.

We are in the thick of the holiday baking season, and I love it!
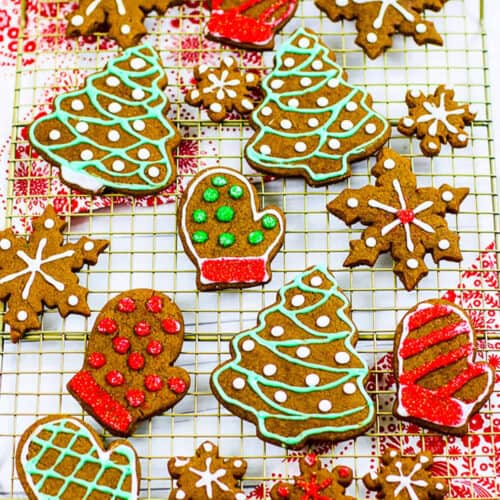
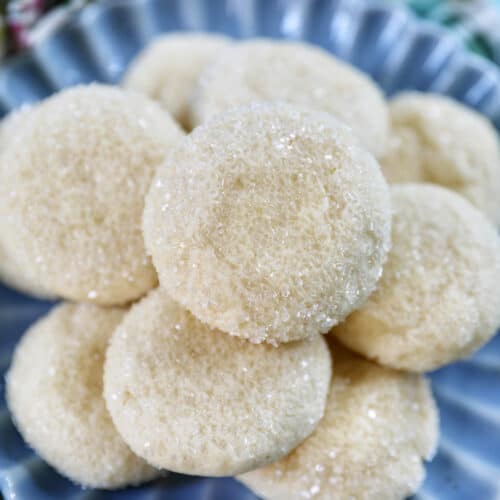
Are you in the holiday baking spirit, too? If so, be sure to try some of my favorite holiday cookie recipes. These are the Best Gingerbread Cookies for Decorating – soft and chewy, yet perfect for decorating with your favorite icing. If you’re looking for fast holiday cookies to make without decorations, try my Soft Ginger Molasses Cookies. We make batches and batches of these each year and they are always a favorite!
For shortbread fans, these Chocolate-Dipped Peppermint Shortbread cookies are so easy and absolutely delicious. Plus they look adorable wrapped up to give as holiday gifts!
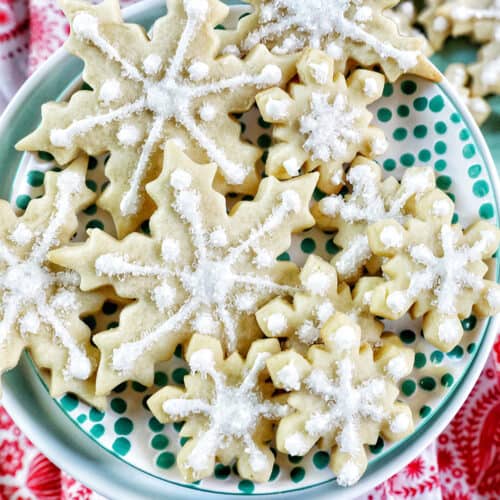
And these Red Velvet Crinkle Cookies look so fun and festive on any holiday table. These make beautiful holiday baking gifts as well!
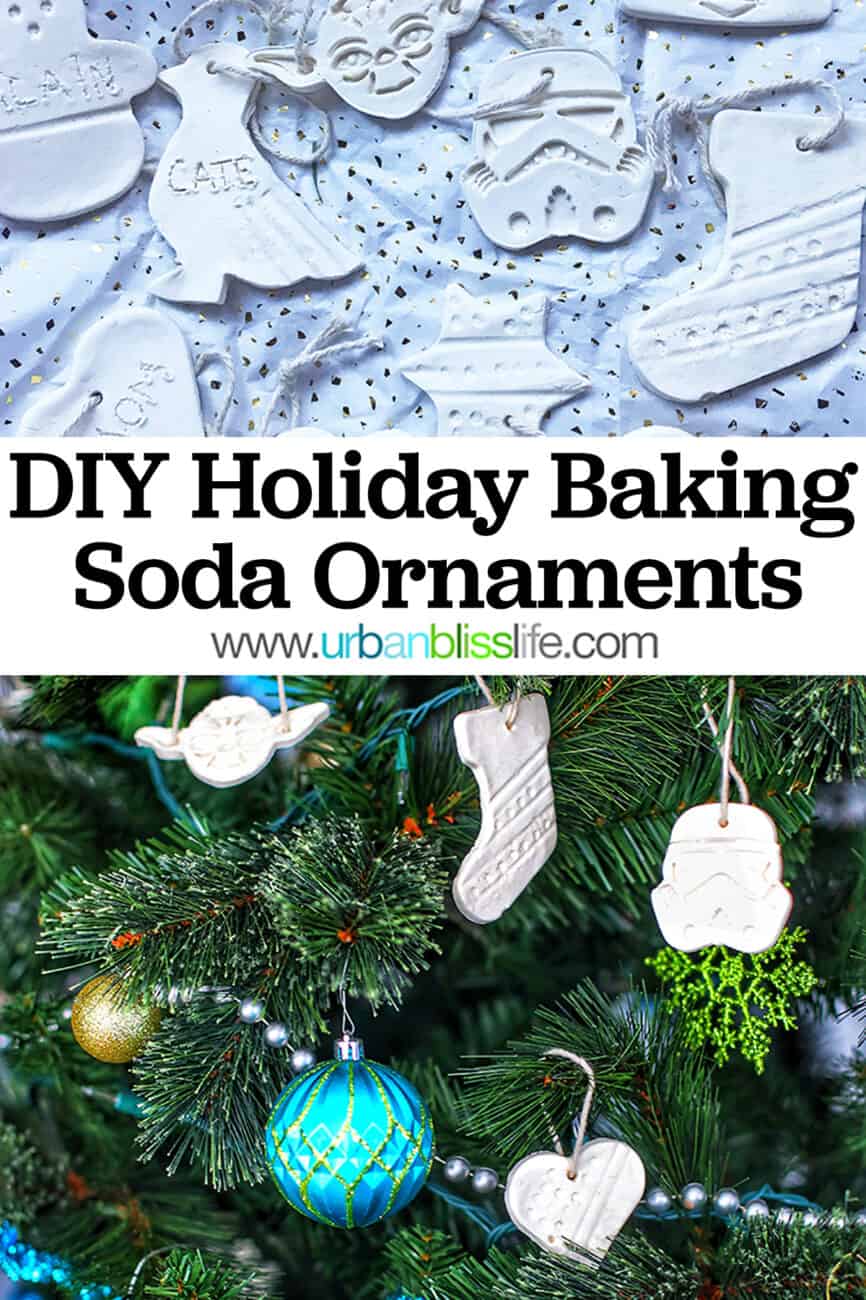
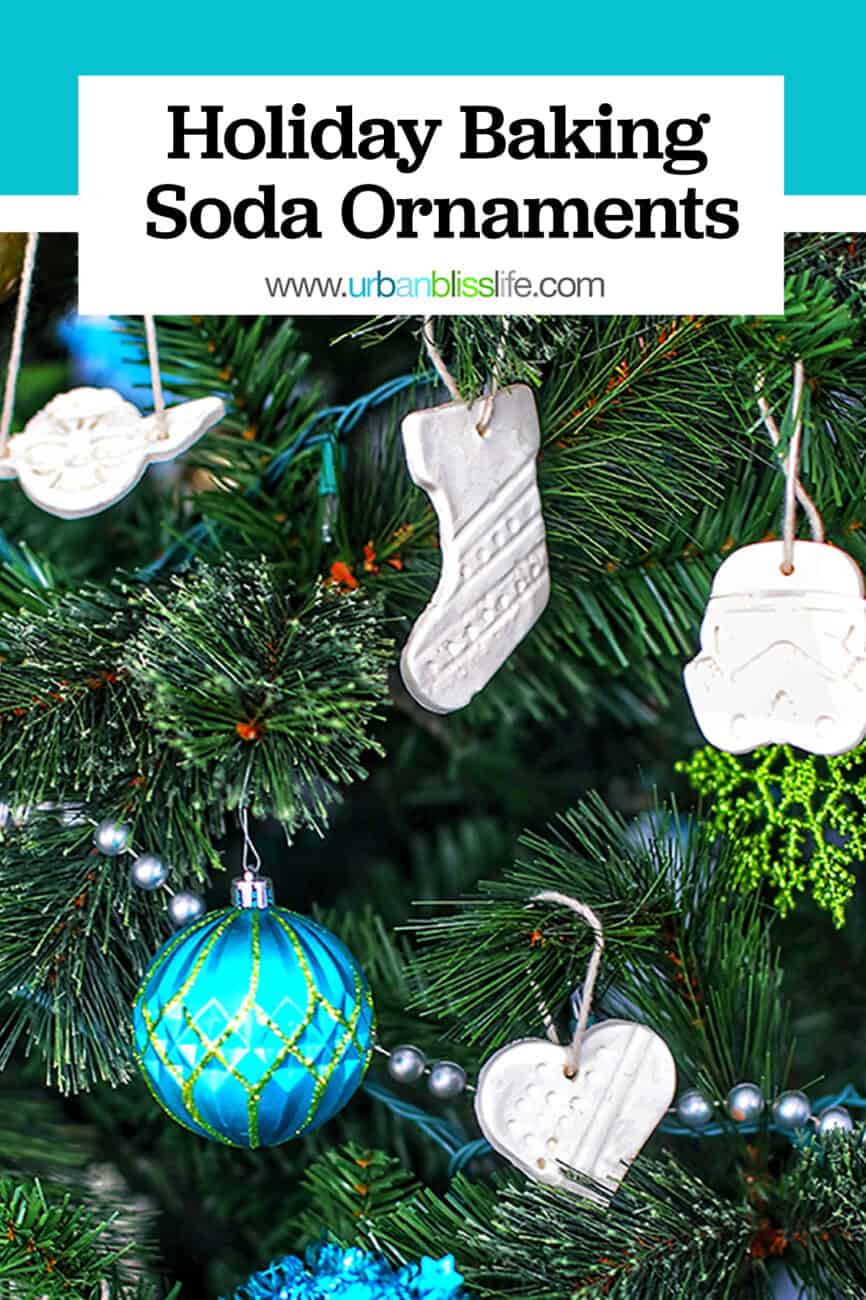
If you want to add another fun baking project that will last longer than cookies, try my DIY Baking Soda Ornament project!
🎄 Baking soda ornaments
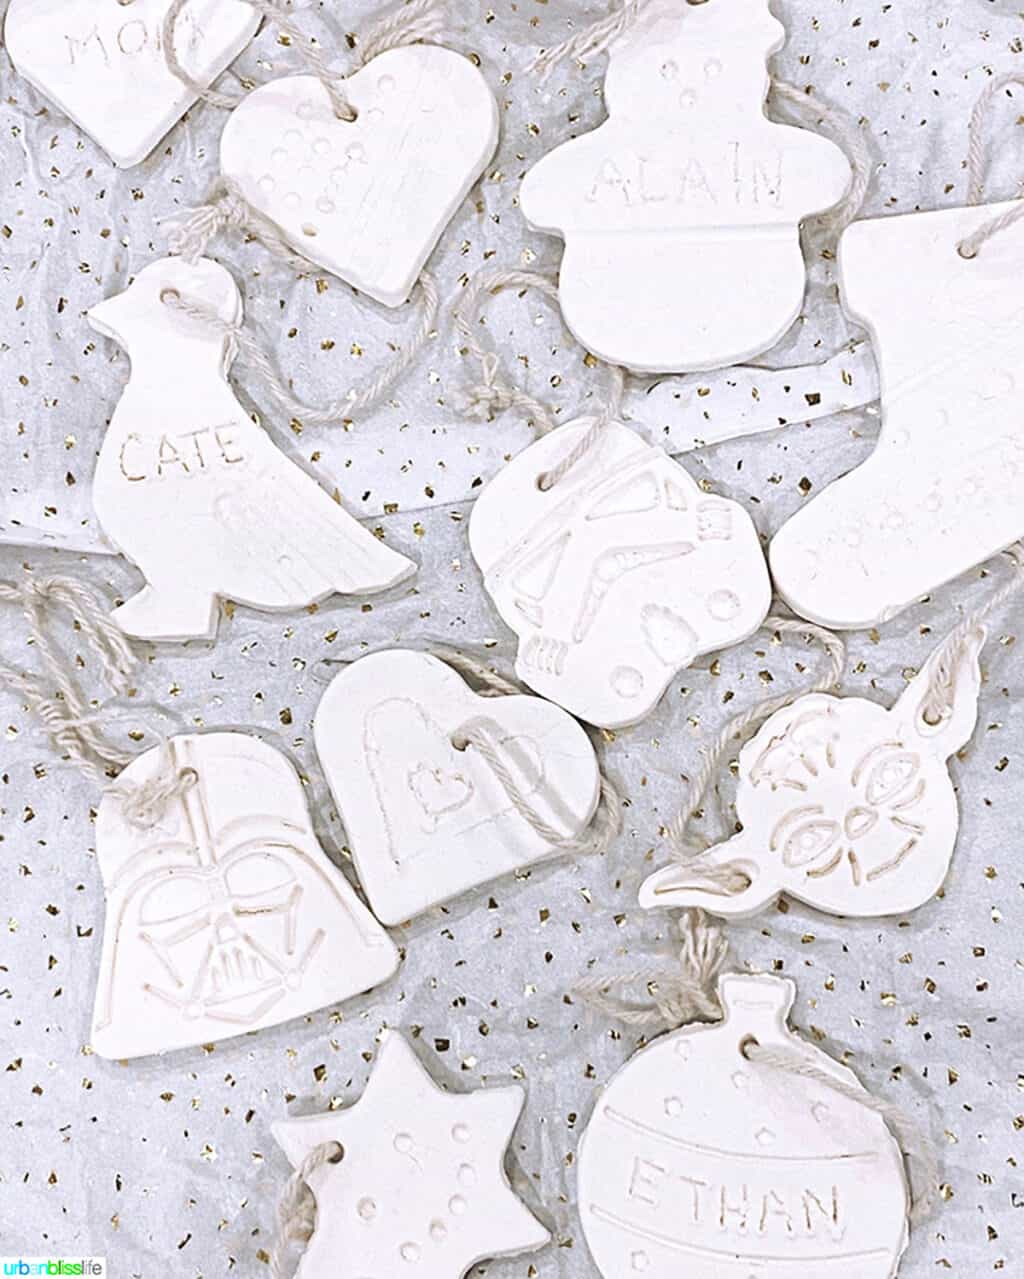
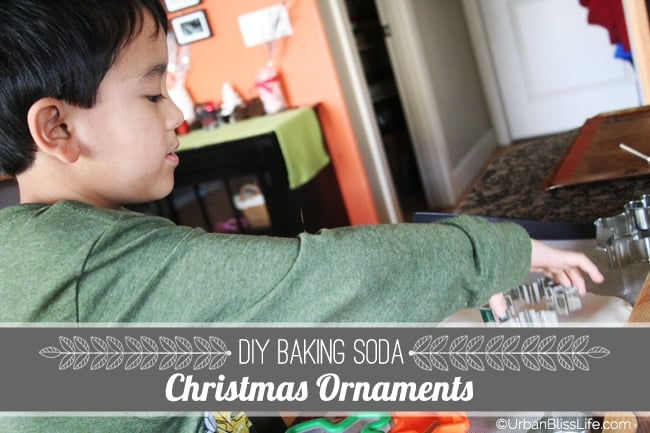
The kids and I always have so much fun making these ornaments. We have been making these for over a decade!
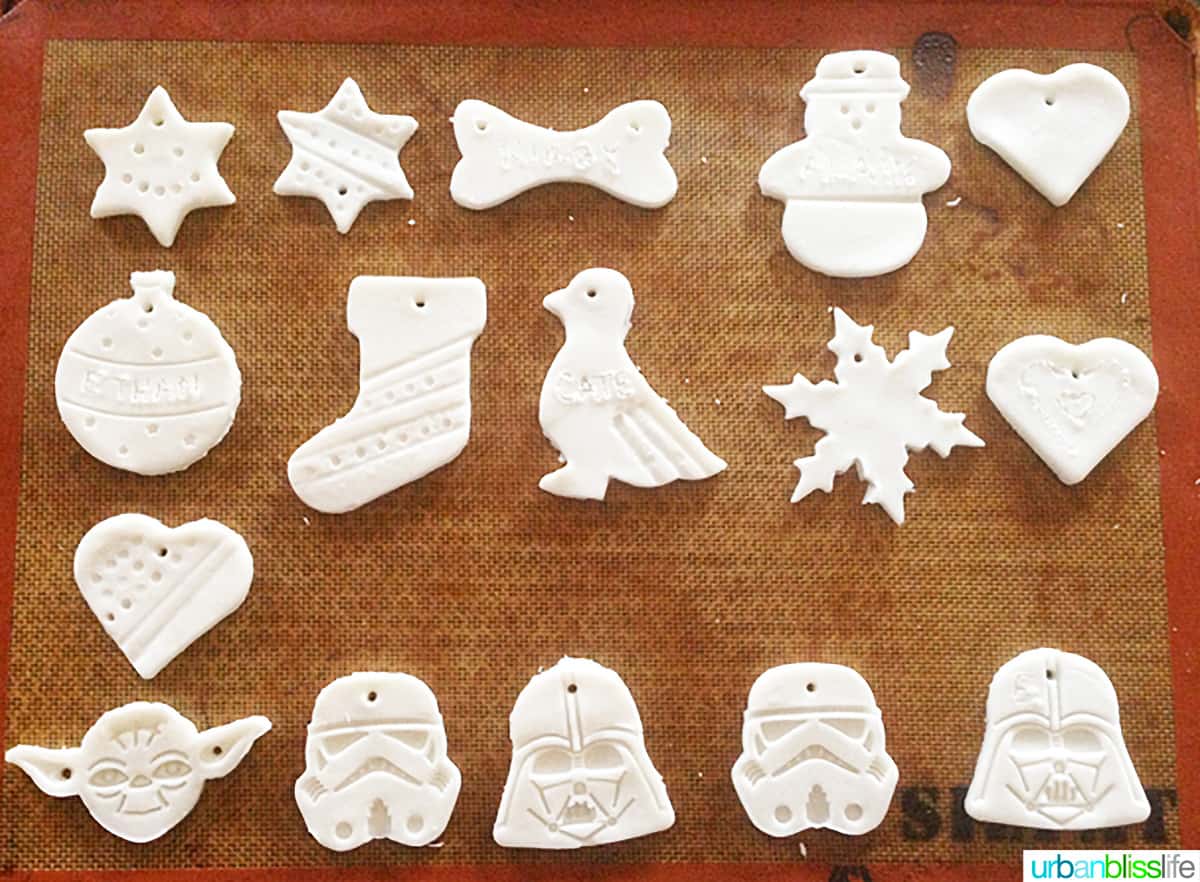
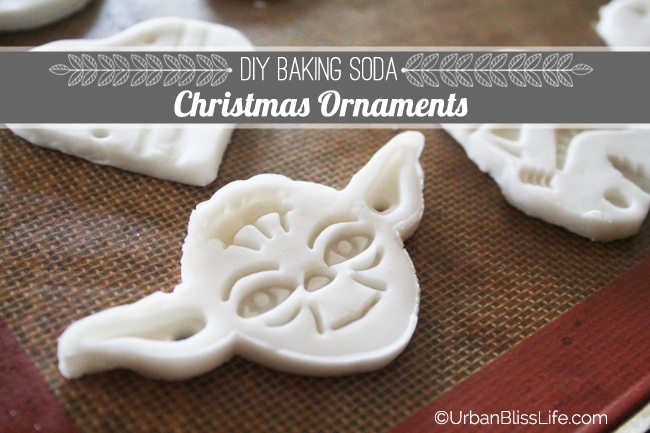
You can probably tell, I let them pick out a few of the Star Wars cookie cutters to use in addition to our traditional Christmas cookie cutters. :)
✨ Tips to make baking soda ornaments
While these baking soda ornaments are pretty easy to make, they are just like any other baking project. There are so many factors that can affect how these turn out.
Below, I try to address some common questions I have received about these homemade Christmas ornaments over the years. As well as some helpful tips in general to help you make the best baking soda ornaments!
- Use a light-colored aluminum baking sheet. This is true for all baking. Darker baking sheets can absorb and distribute heat faster than light-colored pans.
- Make sure your baking soda is fresh. While baking soda tends to have a long shelf life, it does lose its potency over time. I bake a lot, and switch out my baking soda once a month. While you don’t need to do so that frequently, if you’re using baking soda that is more than a couple months old, consider getting a new box for your next baking project.
- Make sure your kitchen temperature is average. Room temperature can affect the dough, just like any other baking project.
- Place your baking sheet in the center rack. This helps ensure even baking.
- You can use traditional holiday cookie cutters or any other cookie cutters you like, but just make sure if it’s a push-spring cutter (like these Star Wars cookie cutters used here) that it has a pretty easy release.
- Try not to press too hard when making pattern impressions; it’s easy to push straight through the dough.
Our ornaments have lasted 9 years so far. That’s a pretty long time for baking soda ornaments!
🎄 DIY FAQs
Wrap each ornament carefully in tissue paper or wax paper. Then wrap with bubble wrap. Then, place inside a sturdy box and stuff additional tissue paper or bubble wrap on the bottom, top, and around the edges. Store in a temperature-controlled space. We store ours in the basement, where it doesn’t get too hot or too cold.
You may need to decrease the baking soda amount, as the air dries out baked goods faster at higher elevations. Try using 3/4 baking soda instead of the usual 1 cup for your first batch, and then adjust accordingly for any additional batches you make.
What do you need to make baking soda ornaments?
You probably already have the necessary ingredients in your pantry right now. All you need to make one batch is:
1/2 cup cornstarch
1 cup baking soda
3/4 cup water
Then you can use any cookie or pastry cutter you would like. This is SO EASY. Trust me: once you make these, you’ll want to keep making more!
✅ Step-by-step instructions
Exact measurements of ingredients and instructions are in the printable recipe card toward the bottom of this post. Here are some helpful tips to guide you as you make this recipe.
- Combine the cornstarch, baking soda, and water in a medium or large pot over medium heat. Stir ingredients until the mixture starts to thicken, about 2-3 minutes. When the mixture begins to thicken into a smooth texture, remove from heat. Immediately form the dough into a ball and place into a glass bowl; cover with a damp cloth to allow the dough to cool slightly.
- Preheat oven to 175 degrees.
- After a few minutes, when dough is slightly cooled to the touch, place onto a rolling mat and knead the dough gently. Feel free to add more cornstarch if you feel the dough is too sticky to knead properly.
- Roll out the dough on the rolling mat (I use this nonstick silicone Silpat Roul’Pat) or onto a cutting board lightly dusted with cornstarch (to prevent sticking) to 1/4 inch thick.
- Cut out shapes using cookie cutters. Very gently, lift the shapes out and transfer them onto a prepared baking sheet covered with a Silpat or parchment paper.

- Use a straw or a lollipop stick to poke a hole in the center top of each decoration.
- Bake at 175 degrees for 45 minutes to 1 hour, depending on your oven. Turn the sheet 180 degrees halfway through baking time to ensure even baking. If edges start to curl up during baking, gently tap down until flat.
🎁 DIY holiday ornament Ideas

- You can add further decorations by painting the ornaments, adding glitter, ribbon – you name it!
- Turn these into personalized gift tags for gifts by using monogrammed cookie cutters and stringing around gifts with festive ribbon.
Hope you enjoy this easy and fun DIY holiday ornament tutorial!
What sort of fun shapes would you use for your DIY baking soda ornaments?
More Christmas baking recipes

Baking Soda Ornaments
These homemade baking soda ornaments are easy to make. And this is a fun family Christmas project that gives you beautiful family keepsakes!
Materials
- 1/2 cup cornstarch
- 1 cup baking soda
- 3/4 cup water
Tools
- large glass bowl
- rolling mat
- rolling pin
- cookie cutters
Instructions
- Combine the cornstarch, baking soda, and water in a medium or large pot over medium heat. Stir ingredients until the mixture starts to thicken, about 2-3 minutes. When the mixture begins to thicken into a smooth texture, remove from heat. Immediately form the dough into a ball and place into a glass bowl; cover with a damp cloth to allow the dough to cool slightly.
- Preheat oven to 175°F degrees.
- After a few minutes, when dough is slightly cooled to the touch, place onto a rolling mat and knead the dough gently. Feel free to add more cornstarch if you feel the dough is too sticky to knead properly.
- Using a rolling pin, gently roll out the dough on the rolling mat (I use this nonstick silicone Silpat Roul'Pat) or onto a cutting board lightly dusted with cornstarch (to prevent sticking) to 1/4 inch thick.
- Cut out shapes using cookie cutters. Very gently, lift the shapes out and transfer them onto a prepared baking sheet covered with a Silpat or parchment paper
- Use a straw or a lollipop stick to poke a hole in the center top of each decoration.
- Bake at 175°F degrees for 45 minutes to 1 hour, depending on your oven. Turn the sheet 180 degrees halfway through baking time to ensure even baking. If edges start to curl up during baking, gently tap down until flat.
Notes
- Watch the mixture in the pot very carefully as it can thicken quickly.
- Always use a light-colored aluminum baking sheet, as the dark-colored pans absorb heat too quickly for these delicate ornaments.
- If your oven does not go down to 175°F, use the lowest temperature setting and adjust your cooking and baking times by lowering them a bit.
Recommended Products
As an Amazon Associate and member of other affiliate programs, I earn from qualifying purchases.
-
 Nordic Ware Natural Aluminum Commercial Baker's Half Sheet (2 Pack), Silver
 -
Silpat Petit Jelly Roll Non-Stick Baking Mat
-
20 Piece Set of Christmas Cookie Cutters
-
Muso Wood Wooden French Rolling Pin for Baking,Beech Wood (French 15.75-Inch-by-1.38-Inch)
-
Williams Sonoma Cookie Cutter Star Wars Set of 8


PIN IT:
This post was first published on November 25, 2013. It has been updated and republished on December 6, 2020, with more helpful baking tips, new photos, and FAQs to help you troubleshoot.


These turned out amazing!!
I’m so happy you could capture their little personalities at this point in their lives. We really appreciate the memories. It might be a Christmas thing, but I can tell you that kids also love playing with these when it is not Christmas. I cut out snow white ornaments, that contrast so nicely with the dark green tree, using your dough recipe. Thank you!
These were so fun! Question: when I made the tags, the one side is white but the other sides still dough colored in the middle. Do I need to let them dry longer? I already baked them after I flipped them over.
I like this. My kids loved to do these. Thank you!
I made this today with my students and was wondering if they can air dry and if so for how long? Also does the oven baking help them become more stable instead of so delicate. We plan on painting them with acrylic paint and a sealant after the paint dries.
.
Hi Regina! I’m so glad you made them with your students! I have never air dried them so I cannot say whether that would work or not. Baking them in an oven is what has worked for me. Just keep a close eye on them and you know your oven best; some run hotter, etc. Have fun!
Thank you. I had fun making a 12 days of Christmas wreith.
I had my sister’s children over yesterday and they loved making these :)
Thanks for the inspiration!
Just made these with my kids. They were super easy & they had fun. However, we are in Australia & I heated the oven to 175 degrees Celsius instead of converting it to Fahrenheit. Disappointing end to the ornaments as they cracked. It may be a good idea to specify which temperature unit you use in future posts. I’m hoping we can still use them & paint over the cracks.
Oh Ruth, thank you for the reminder to update this one! The majority of my readers are in the US, but I do have a growing number in the UK and Australia, and a few sprinkled throughout the rest of the world that uses Celsius instead of our Fahrenheit. I am so sorry to hear that yours cracked :( There are SO many factors that come into play with these fun projects – humidity, your home’s temperature, your oven – that it’s impossible to have a set of directions that works perfectly for everyone. I do appreciate you trying them and letting me know! And I will update the Celsius/Fahrenheit soon in the directions. I am glad you at least had fun making them! Happy happy holidays to you & your family!
I still have some I made over 30 years ago!
Hi :) Is the oven temperature in farenheit or celsius? :) x
Hi Katie! The temperature is in farenheit :) Basically, you want to keep it very, very low. Thank you!
Hi Megan! These should freeze well, although we haven’t ever had enough leftover to freeze yet :) I think making a double batch and freezing one for later is a great idea!
Hi from South Africa! Please can you tell me if the baking soda is bicarbonate of soda or baking powder [raising agent]
Has anyone tried adding food coloring to these?